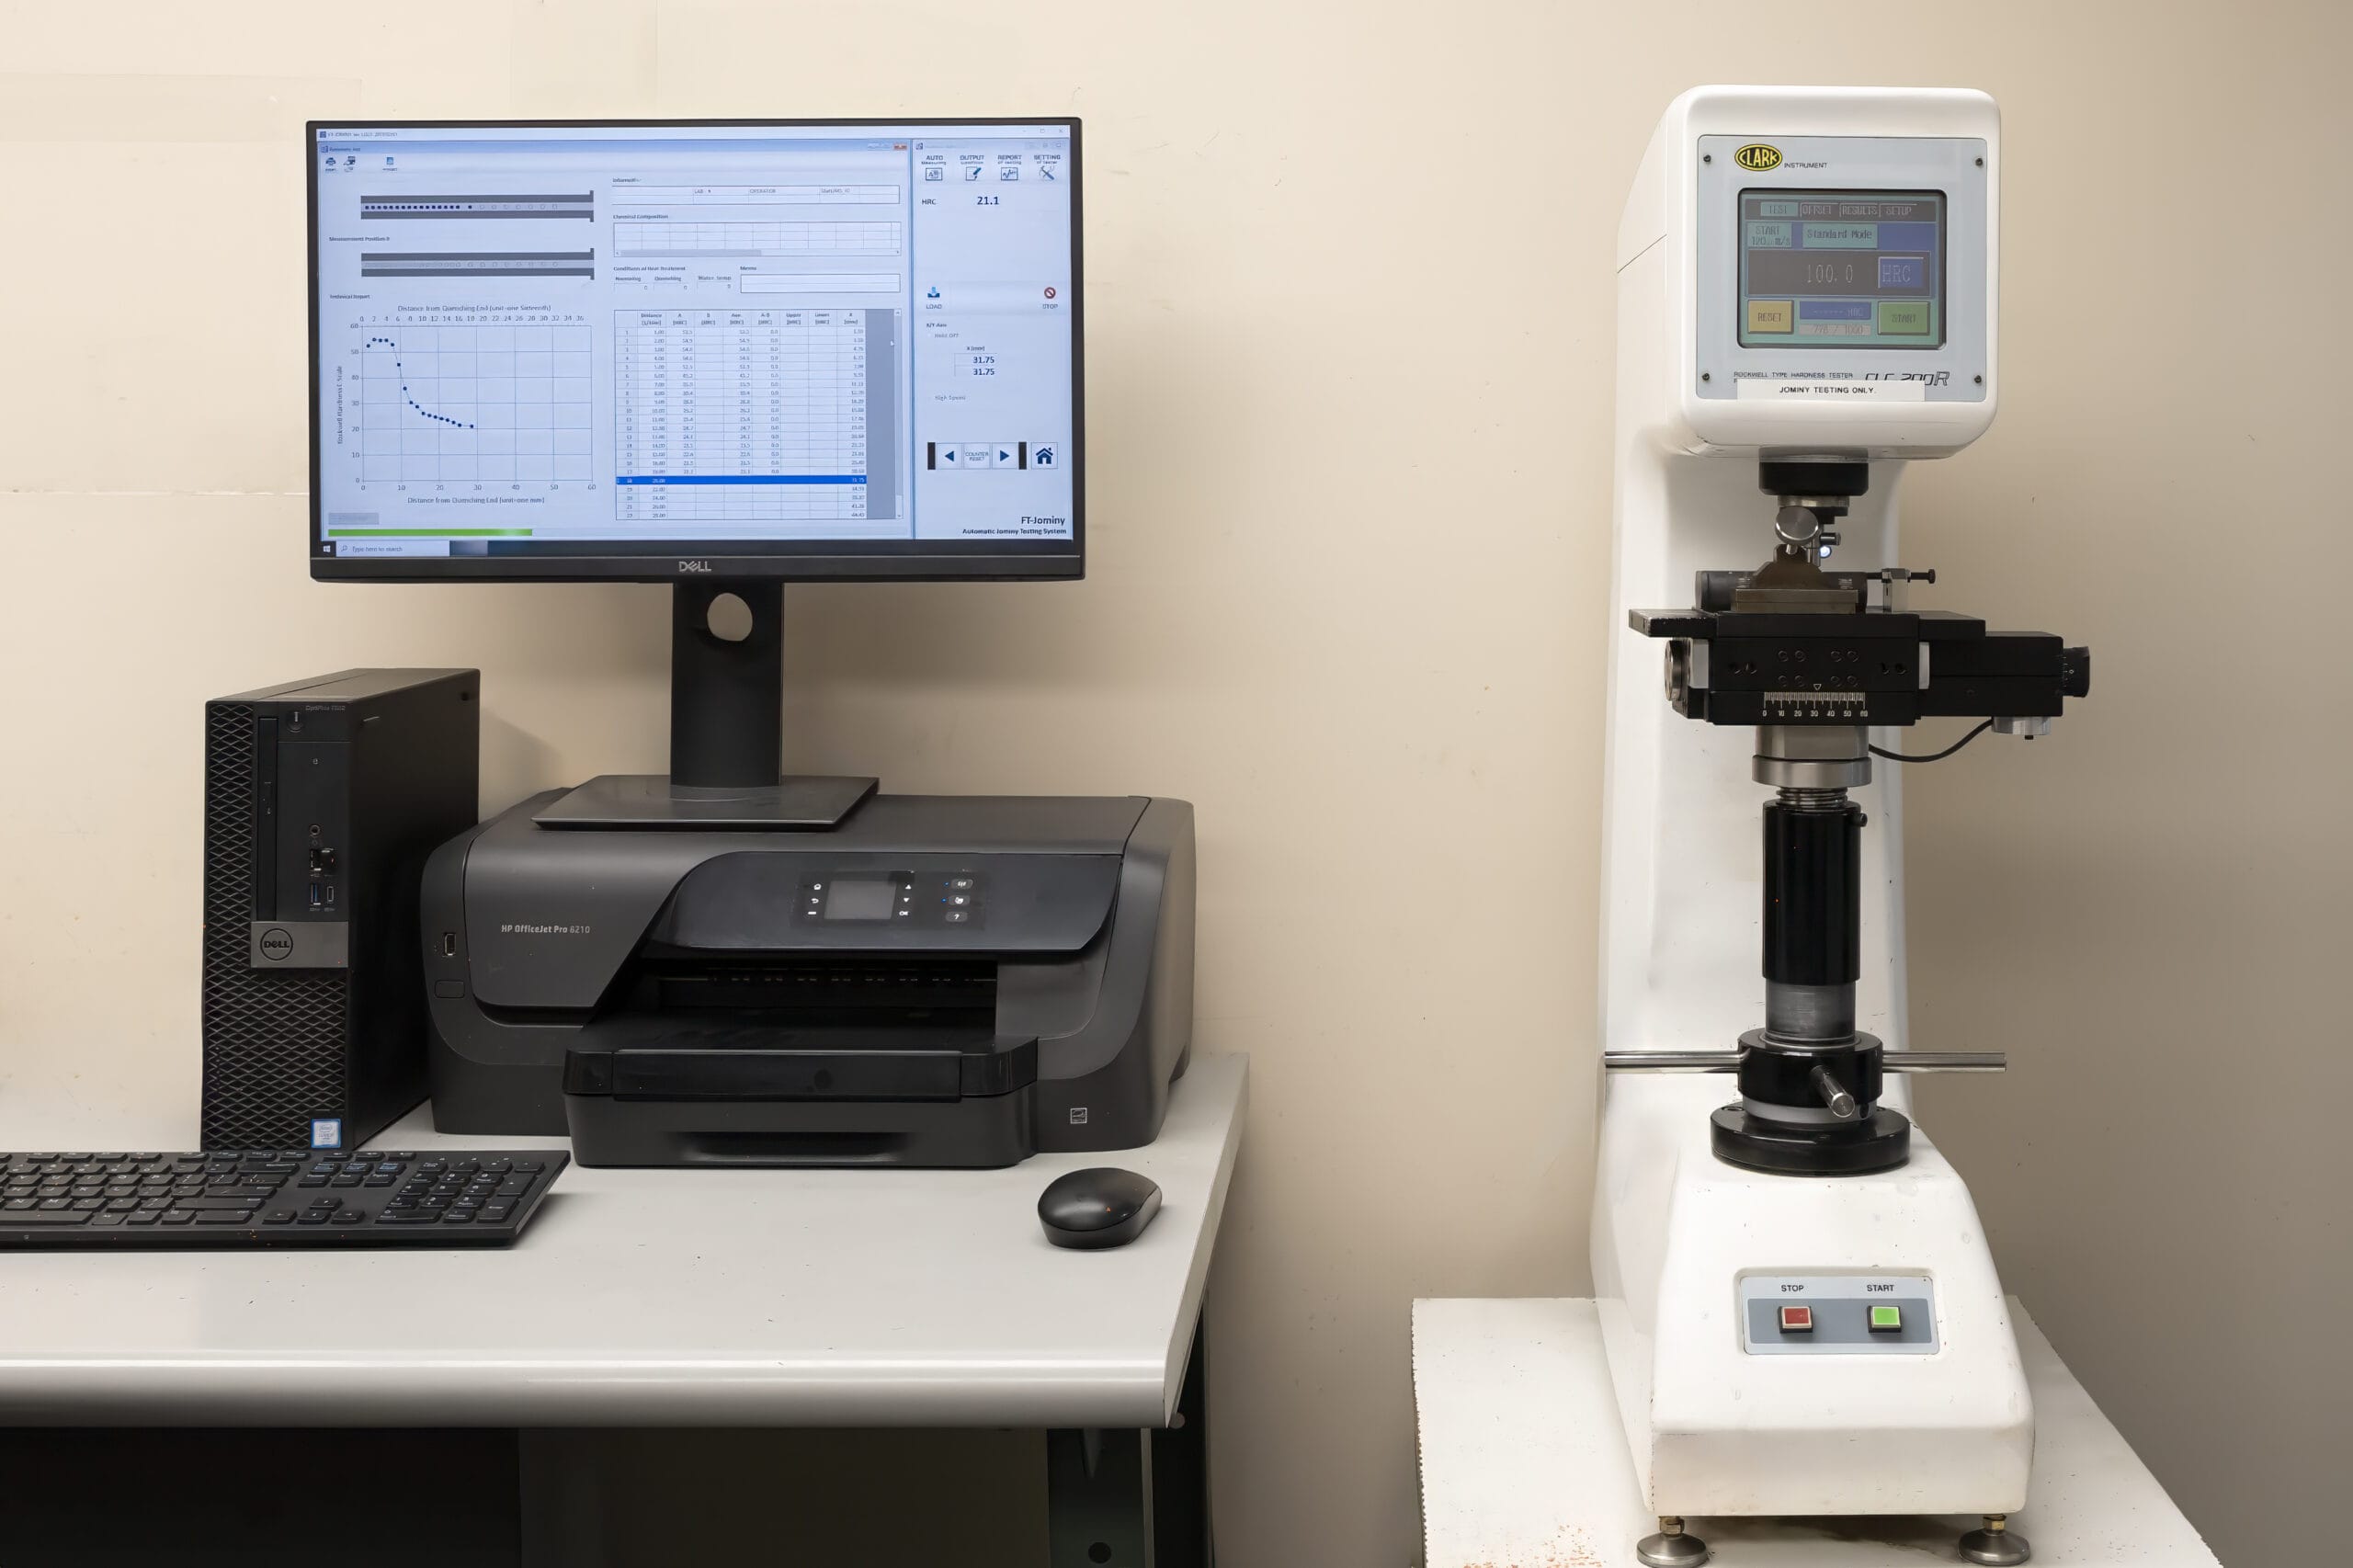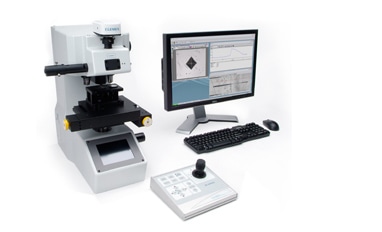
Hardness Testing
ASTM E384 is the standard test method for Knoop and Vickers hardness testing.
Test loads are as low as 1 gram and as high as 1,000 grams, but are typically in the range of 100 to 500 grams. The Vickers indenter usually produces a geometrically similar indentation at all test forces.
Microhardness Testing Laboratory
The Knoop indenter does not produce a geometrically similar indentation as a function of test force. Due to its rhombic shape, the indentation depth is shallower for a Knoop indentation compared to a Vickers indentation under identical test conditions. Thus, the Knoop indenter is very useful for evaluating hardness gradients or thin coatings of sectioned samples.
Knoop and Vickers hardness values can be converted to other hardness scales using ASTM E140.
Specific fields of application of microhardness testing include:
- Small Samples unable to be tested by conventional methods
- Foil and thin wire
- Carburizing or nitriding operations to measure cross sections
- Microconstituents of assemblies
- Measuring hardness close to the edges of work pieces for anomalies
- Measuring the hardness of surface layers such as plating or bonded layers

Knoop and Vickers Microhardness Test Methods
The following is a listing of specifications that are in accordance with our A2LA and ISO accreditation.
- Knoop: 100, 500 HK
- Vickers: 100g, 300g, 500g, 1000g HV
- ASTM E384 Standard Test Method for Microindentation Hardness of Materials
- ASTM F606 Standard Test Methods for Determining the Mechanical Properties of Externally and Internally Threaded Fasteners, Washers, Direct Tension Indicators, and Rivets
- ASTM F606M Standard Test Methods for Determining the Mechanical Properties of Externally and Internally Threaded Fasteners, Washers, Direct Tension Indicators, and Rivets
Contact us today to learn more about our hardness testing services.
