Charpy Testing
V-Notch Impact Testing
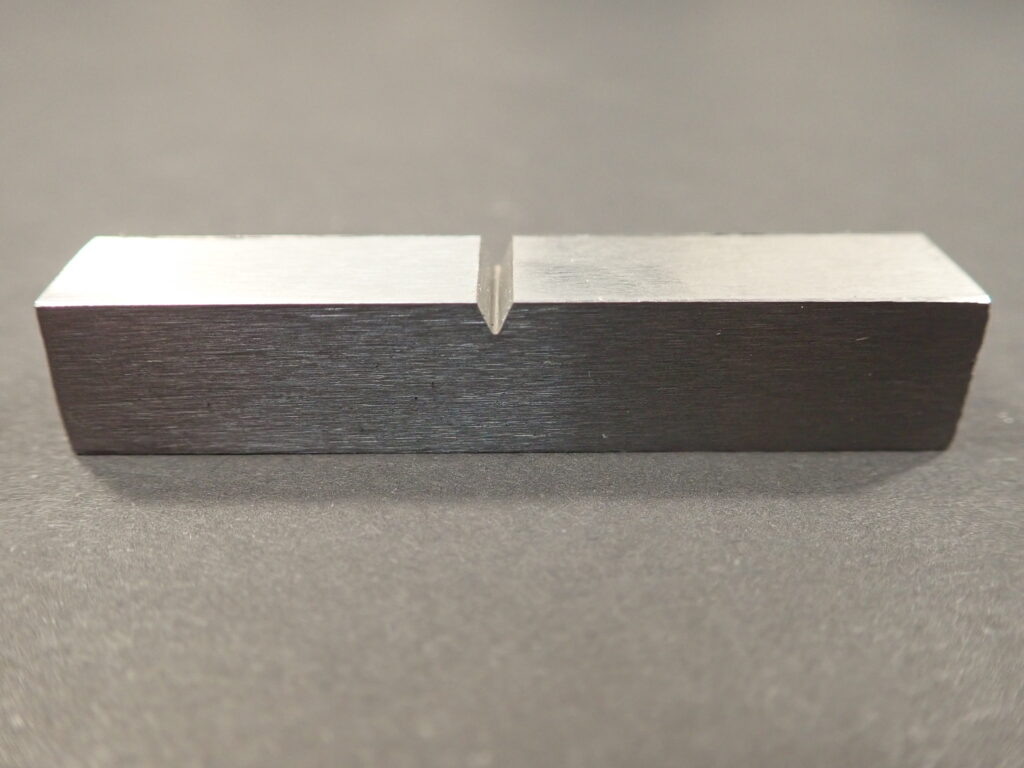
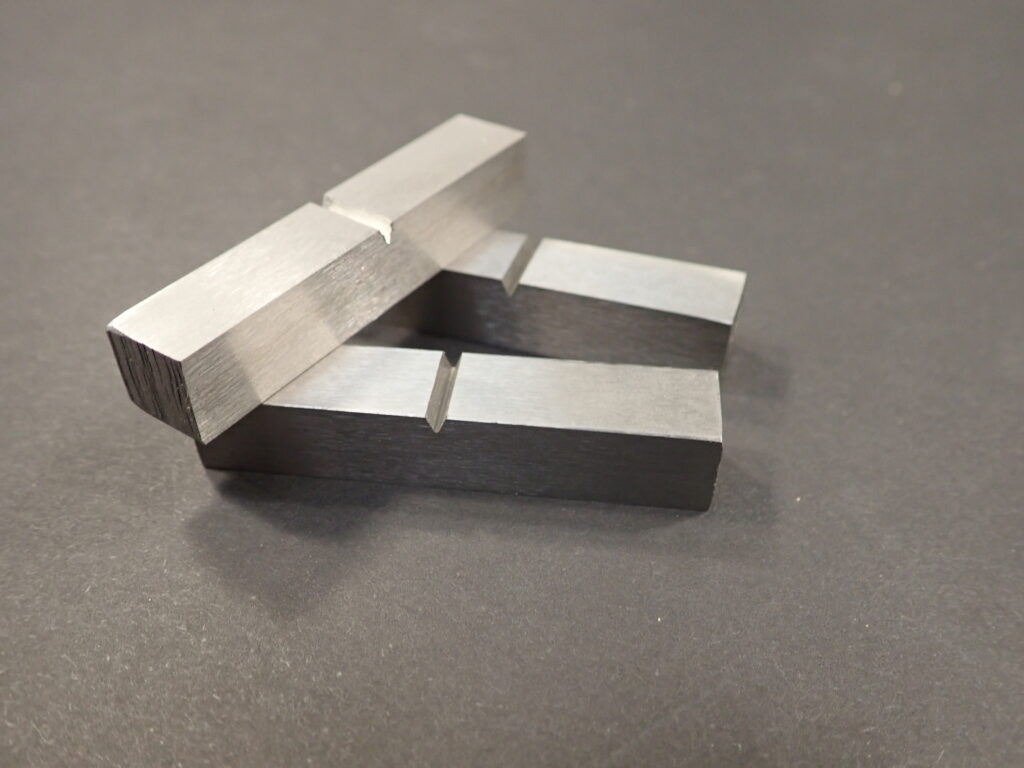
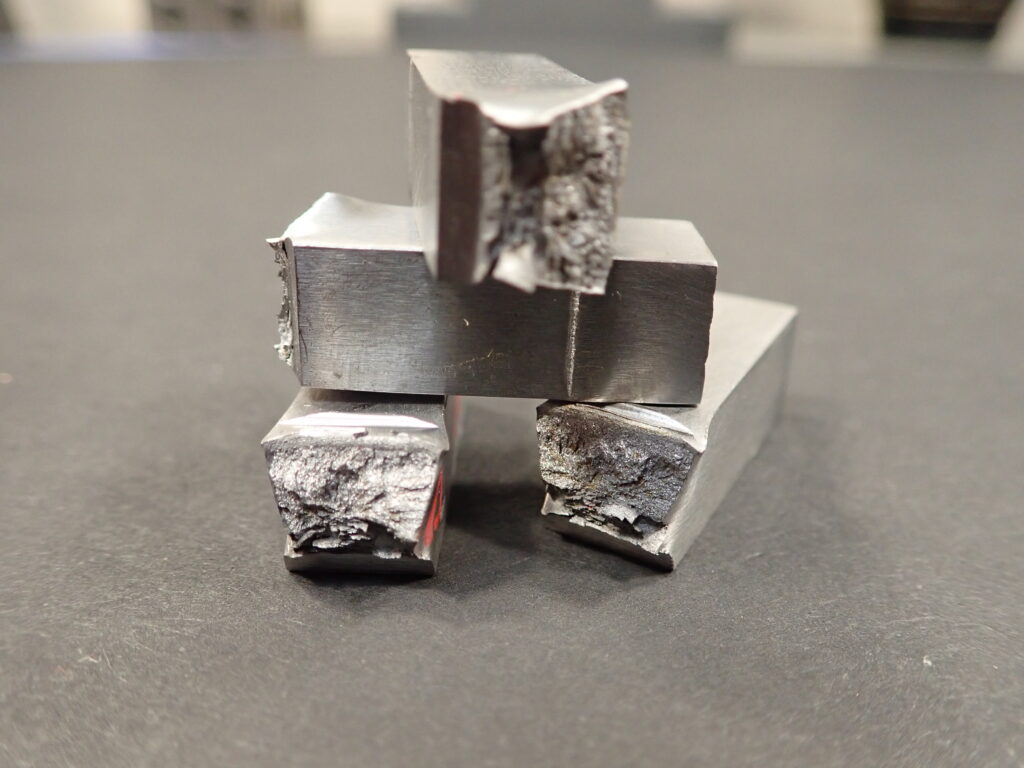
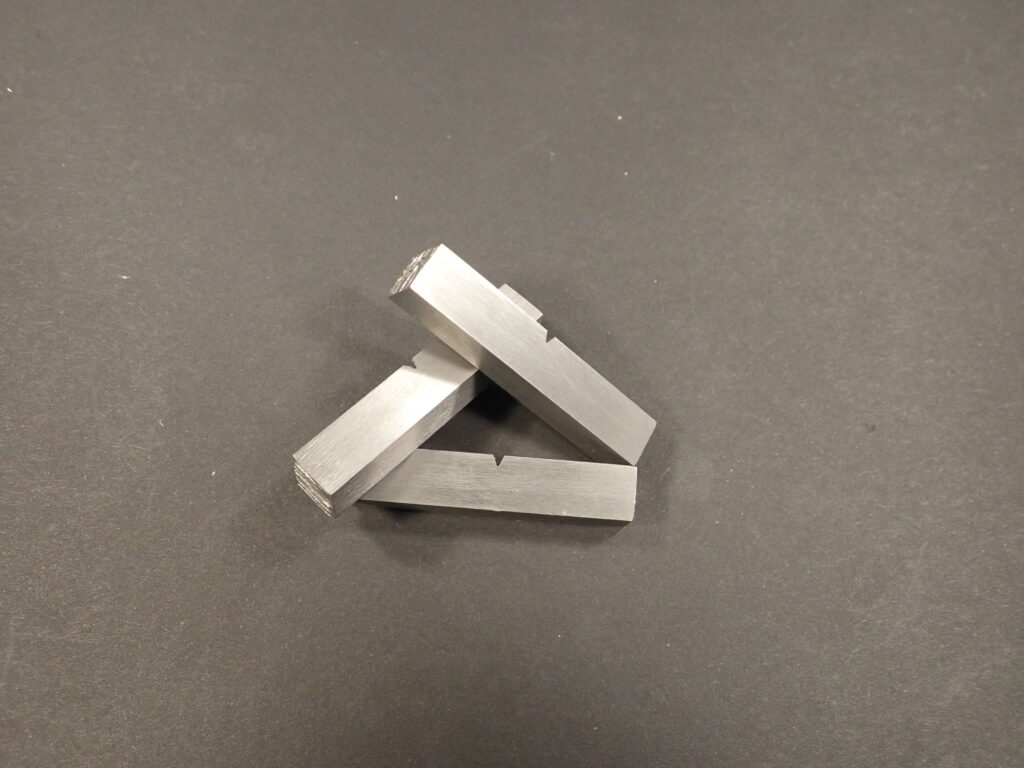
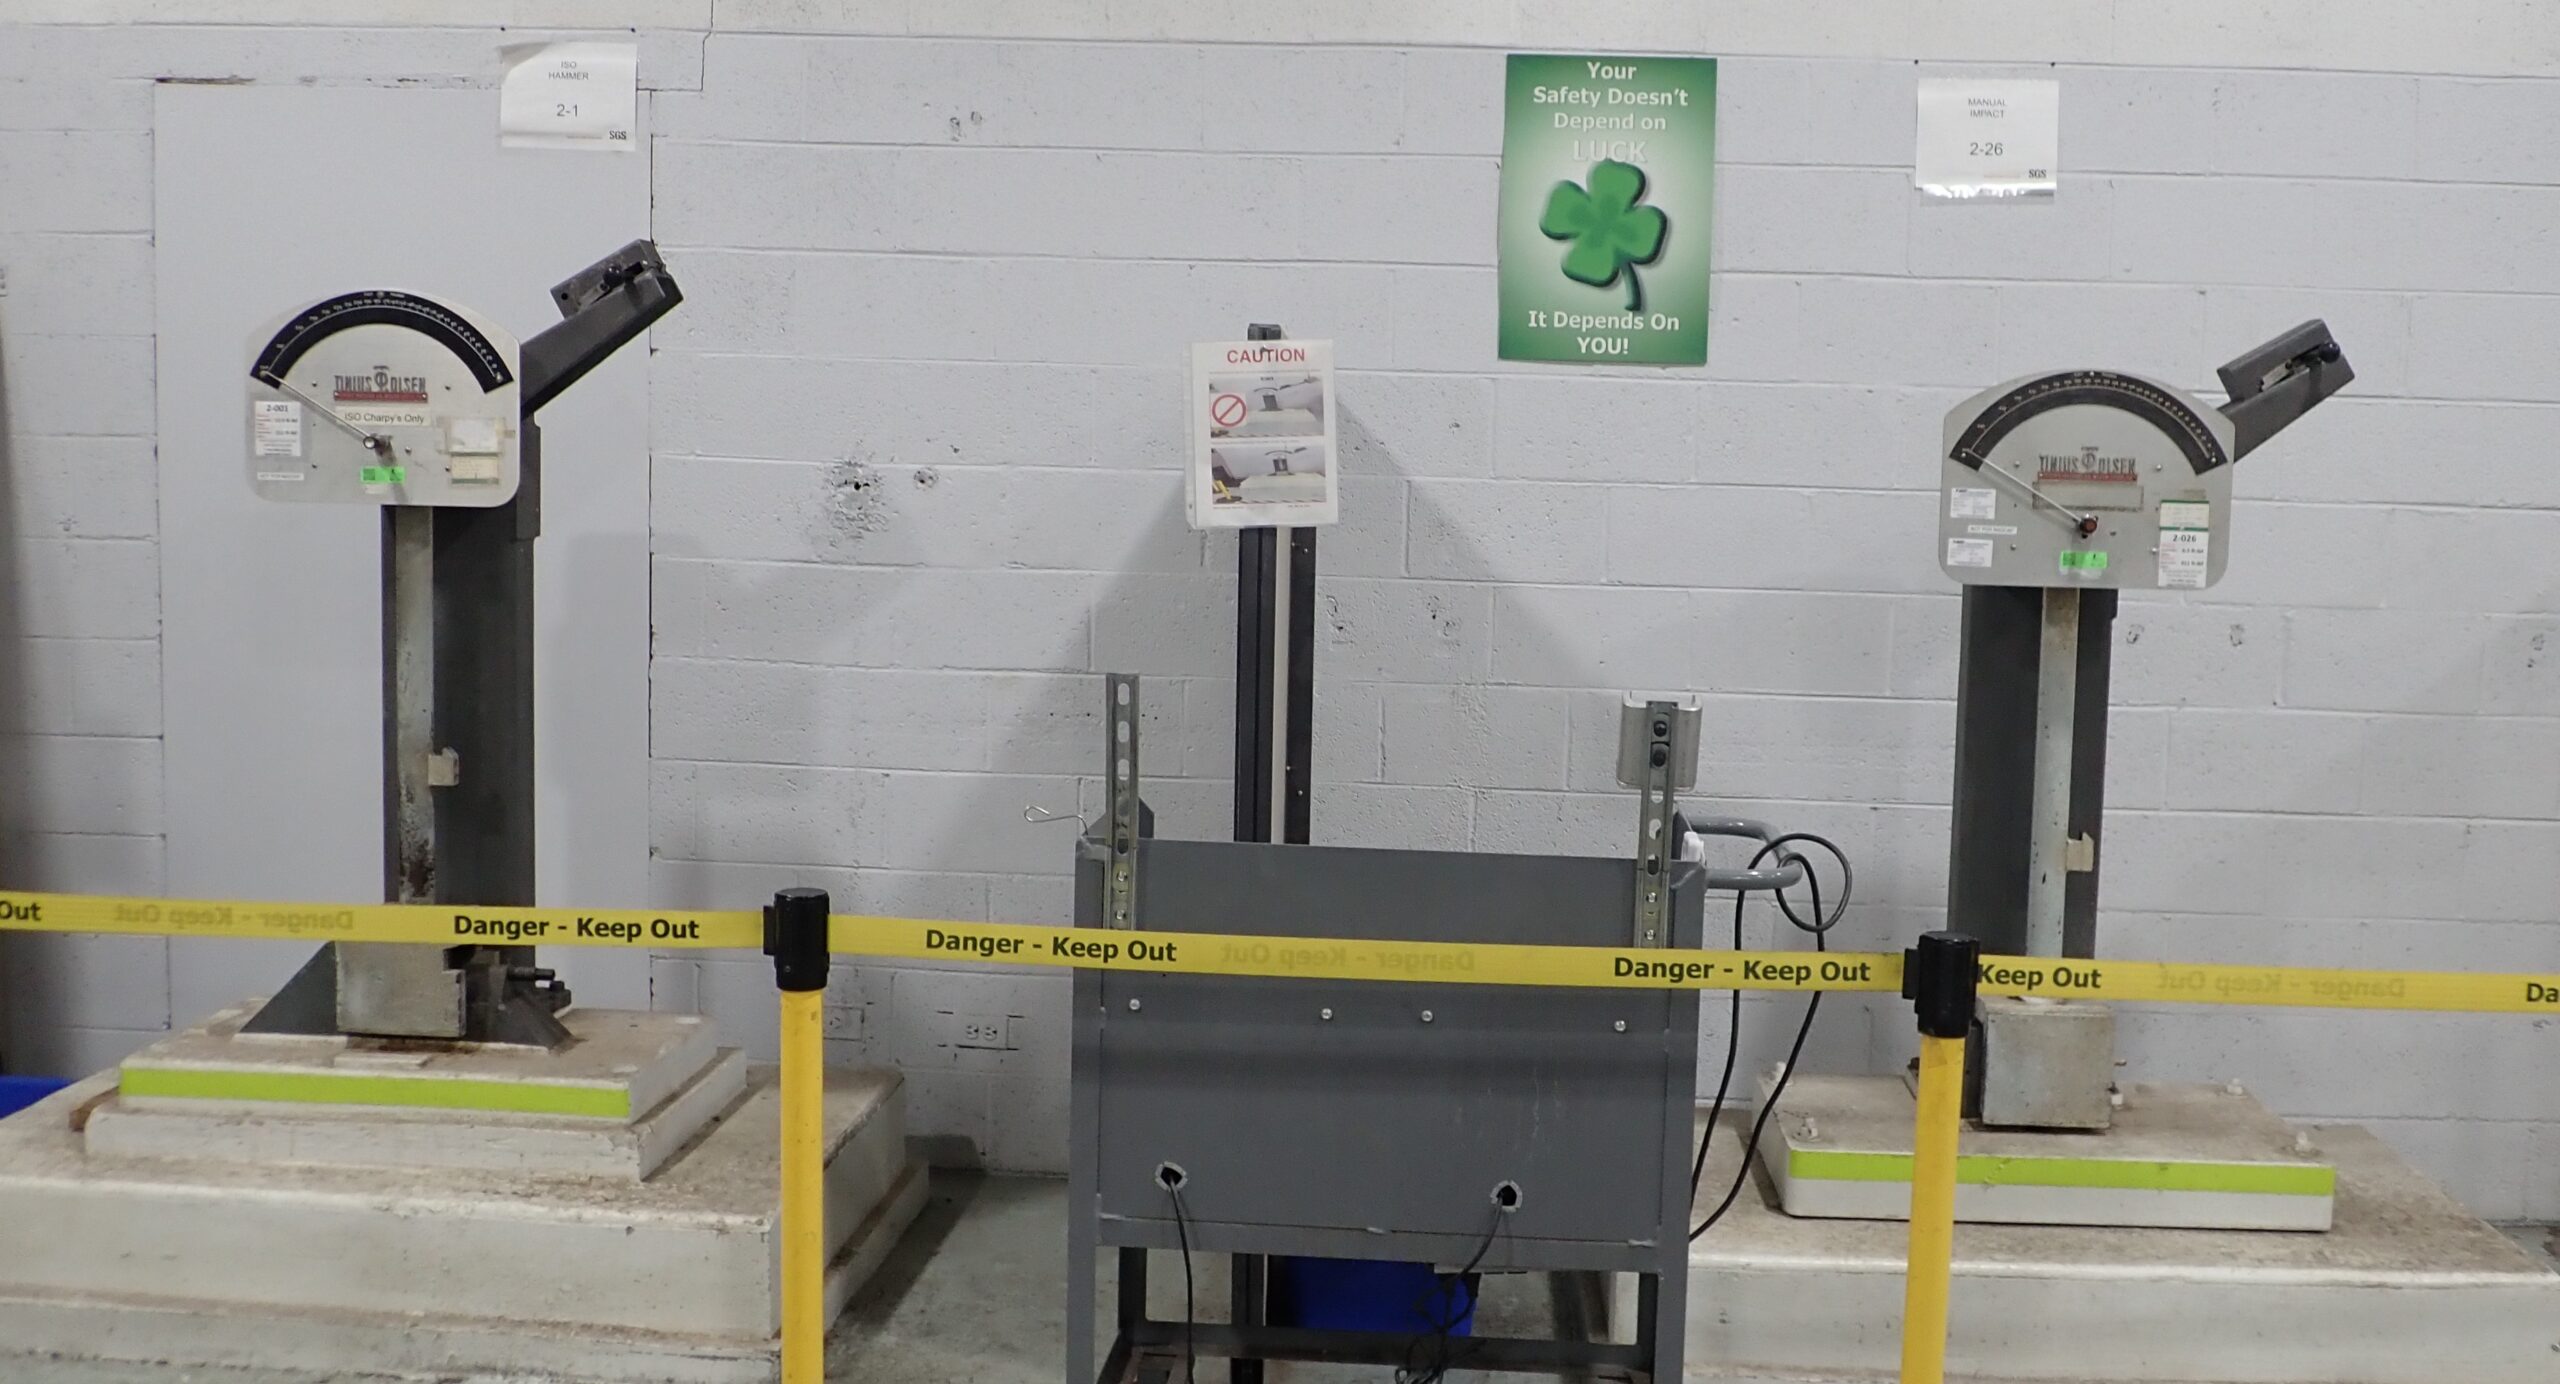
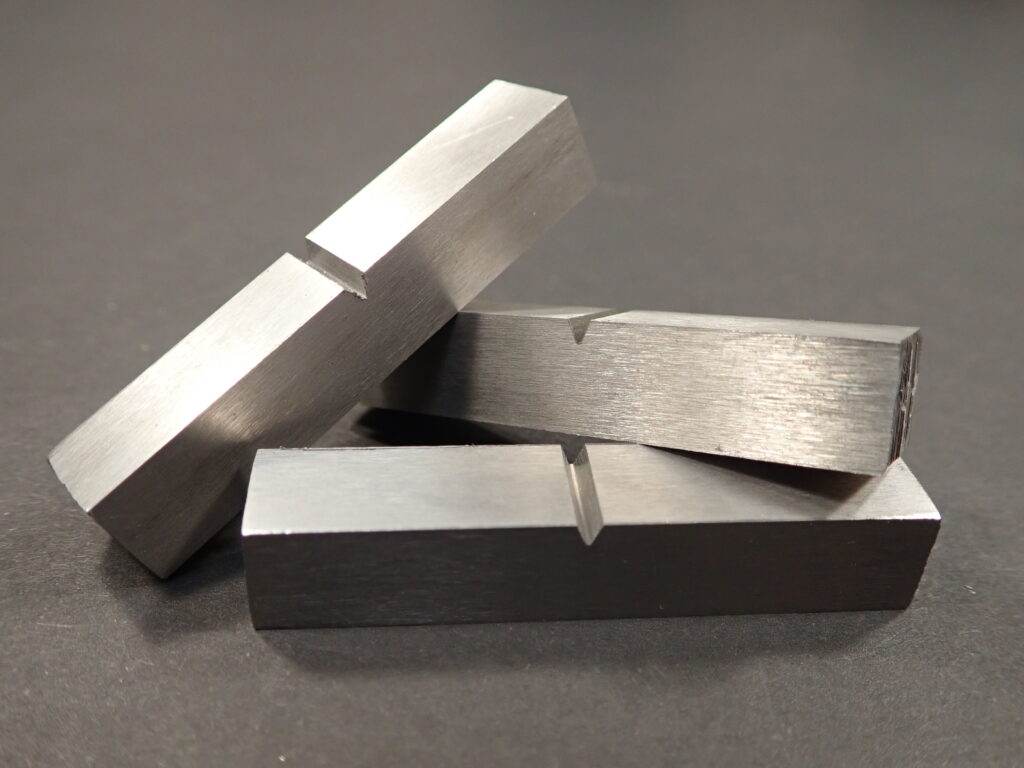
SGS MSi maintains three different impact testers, calibrated to perform both ASTM and ISO Charpy impact testing. Sample test temperature availability ranges from +300°F to -150°F. Material that requires ultra-low temperatures of -321°F and -452°F can also be accommodated, but require prior scheduling. The full size impact specimen (minimal controlling thickness) is 10mm x 10mm x 55mm. The 2.5mm minimum specimen height is a sub size specimen. Sub-size specimens are typical for plate and tubing where the wall thickness controls the available material height. The acceptance criteria are based on wall or plate thickness ranges. Sub-size specimen values CAN NOT be converted to full size test values.
ASTM E23 Charpy Impact Tests
STM and ISO Charpy V Notch Tests utilize the same test specimen, but are tested on different machines and calibrated to different agency reference standards. ASTM is an acronym for the American Society for Testing and Materials. This is the U.S. agency that maintains the testing procedure for the calibration and performance of Charpy impact testing. The actual reference specimens are manufactured, tested and distributed by NIST (National Institute for Standards and Testing). ISO is an acronym for, International Standards Organization, and controls the testing procedure for ISO 148-2, which is the equipment calibration and ISO 148-1, which is the testing procedure. SGS MSi has two different analog impact testers; one calibrated to ASTM and one calibrated to ISO, each capable to a 264 ft-lbs maximum absorbed energy.
SGS MSi’s third impact tester is one of the largest ASTM E23 digital impact testers. It has a capability of 700 ft-lbs and is used for all daily testing. The tester uses an optical encoder that provides accuracy of .06 ft-lbs through the entire 700 ft-lbs range. Based on the high volume of daily Charpy impact testing, SGS MSi recalibrates every 4 months. Prior to recalibration SGS MSi replaces the striker and anvils, which are the wear items of the tester. The recalibration is then performed using three sets of reference standards from NIST. The industry standard suggests an annual calibration. SGS MSi seeks to supersede this standard, ensuring the quality and accuracy of our testing by calibrating our Charpy impact testing equipment three times more frequently.
If you are not using SGS MSi to perform your impact testing, ask your current lab how often they replace their striker, anvil and re-calibrate their equipment. Compare what you are not getting from your current lab and call SGS MSi.
Charpy Impact Test (Type A) Methods & Specifications- The following is a listing of specifications that are in accordance with our A2LA and ISO accreditation.
Testing Methods
| ASTM E23 | Standard Test Methods for Notched Bar Impact Testing of Metallic Materials | |
| ISO 148-1 | Metallic materials — Charpy pendulum impact test — Part 1: Test method | |
| ISO 148-2 | Metallic materials — Charpy pendulum impact test — Part 2: Verification of testing machines | |
| EN 10045-1 | Charpy Impact Test on Metallic Materials – Part 1: Test Method (V- and U-Notches) |
