Industries Served
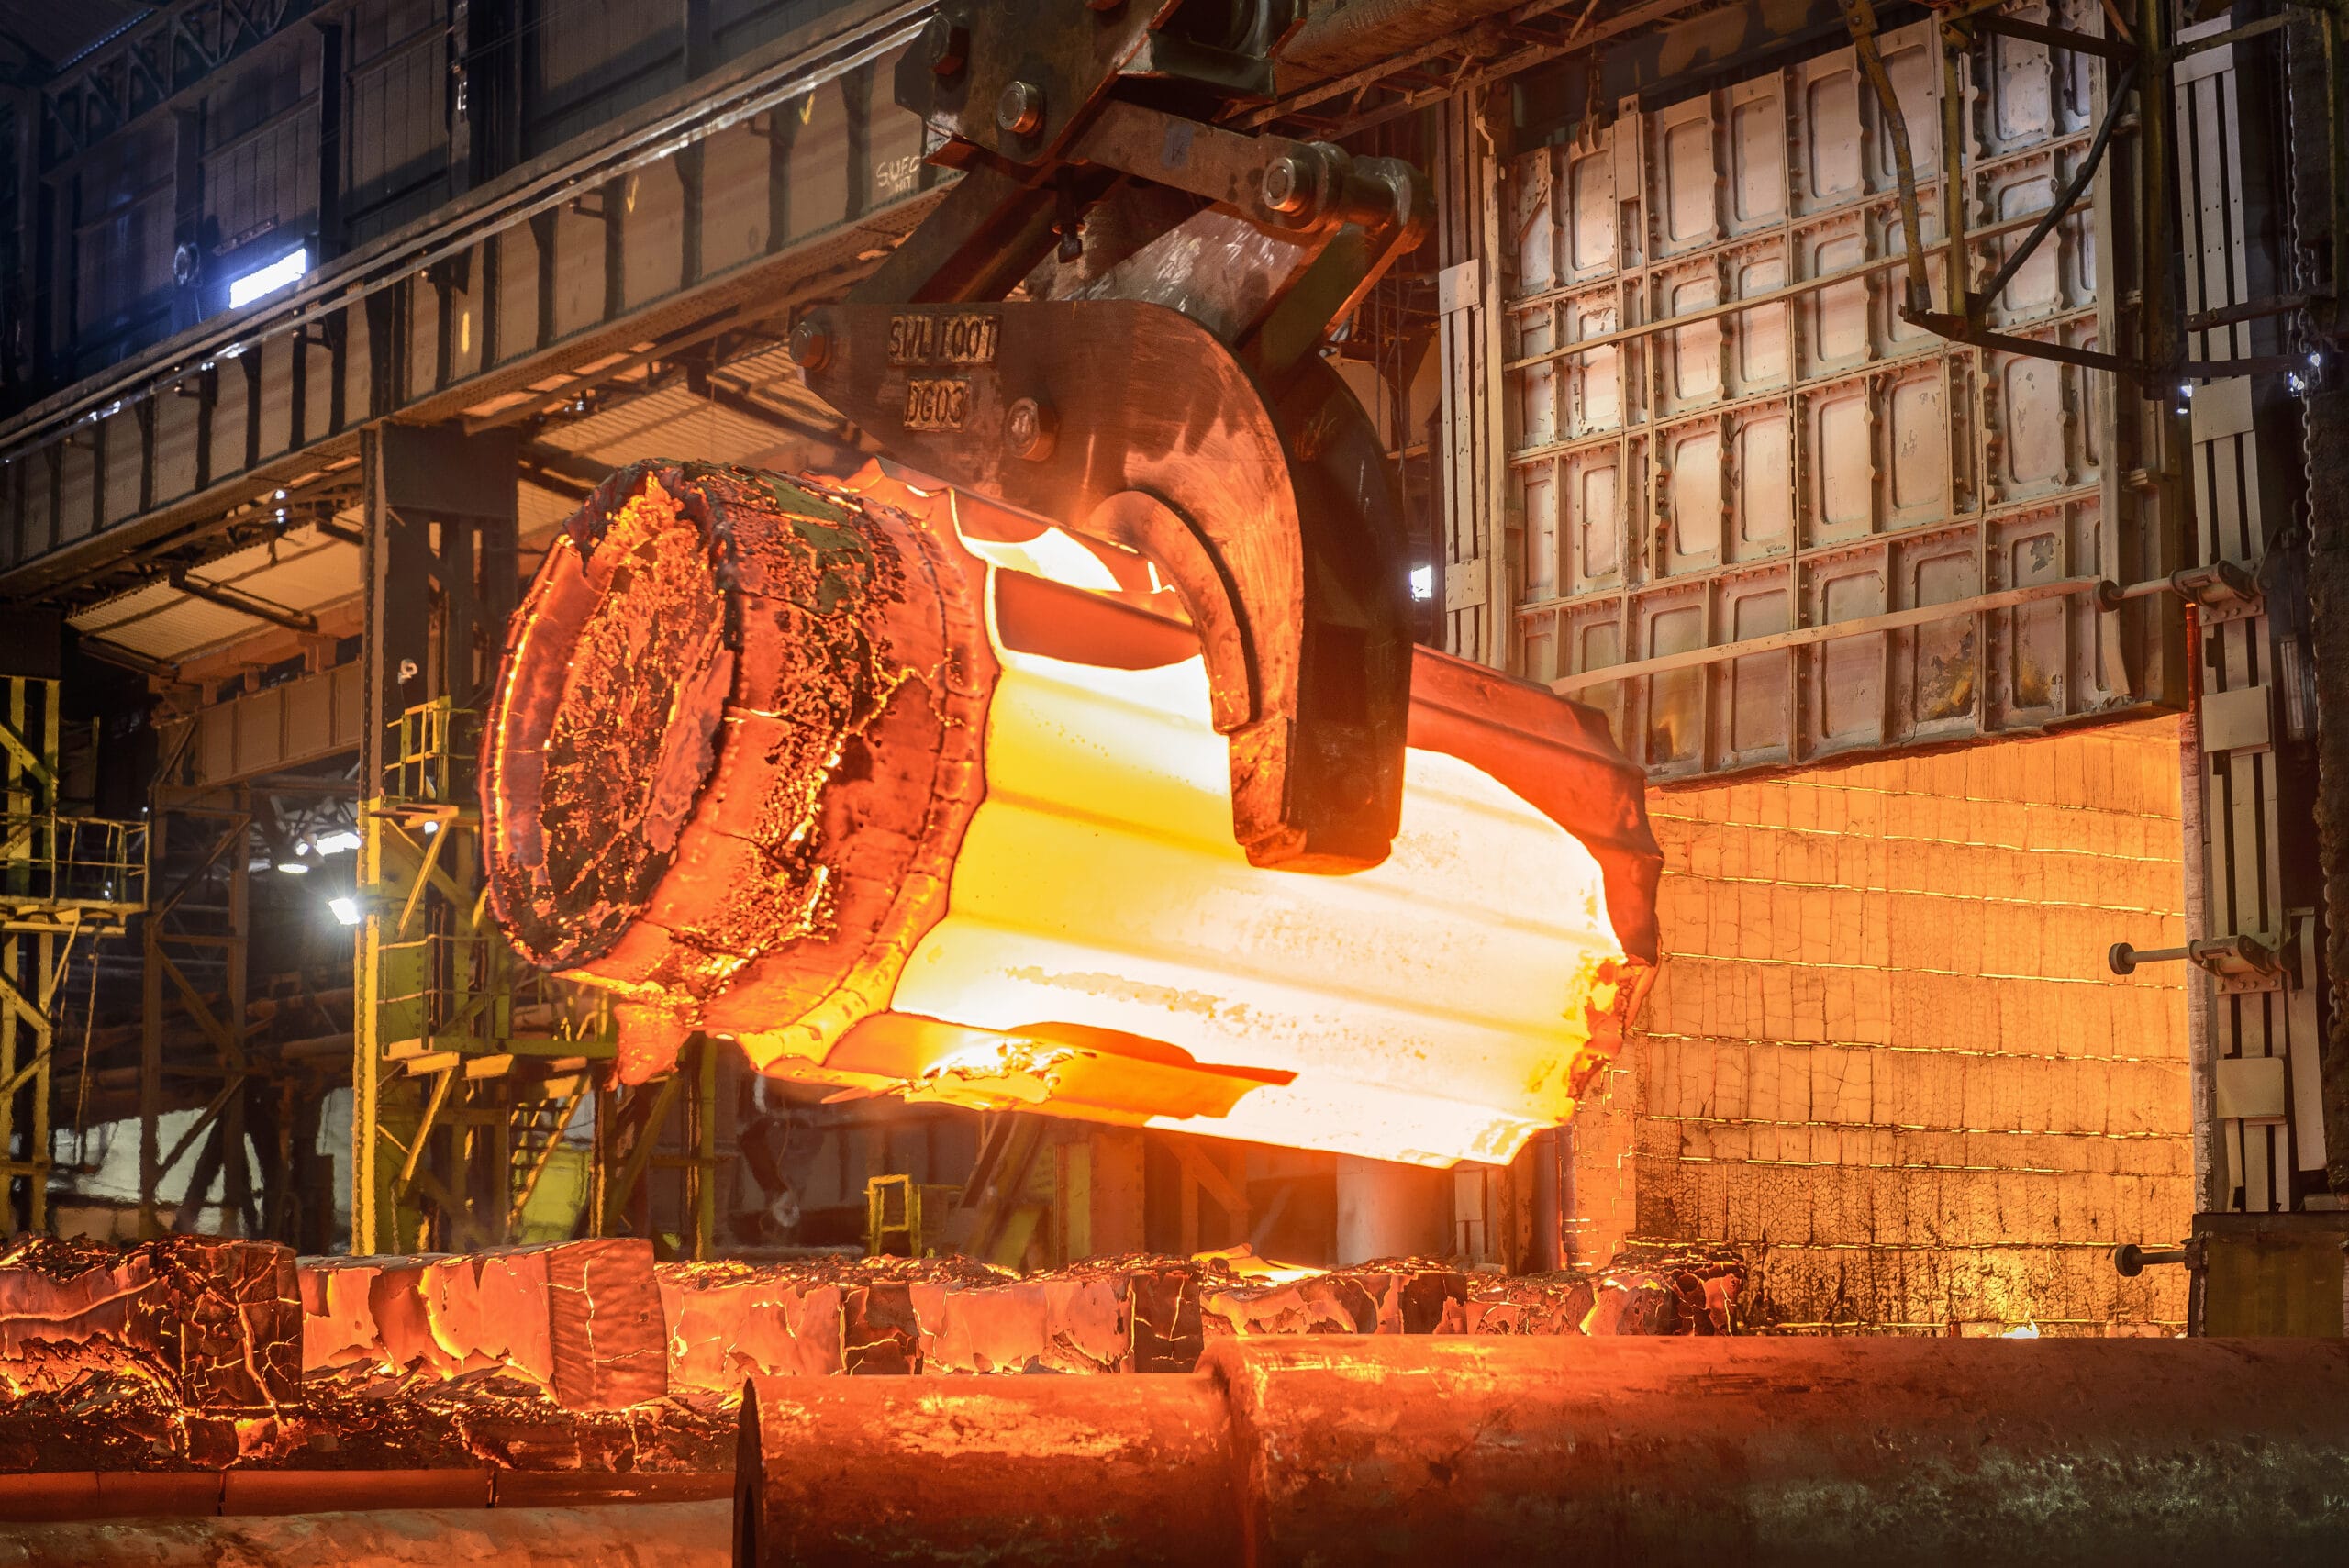
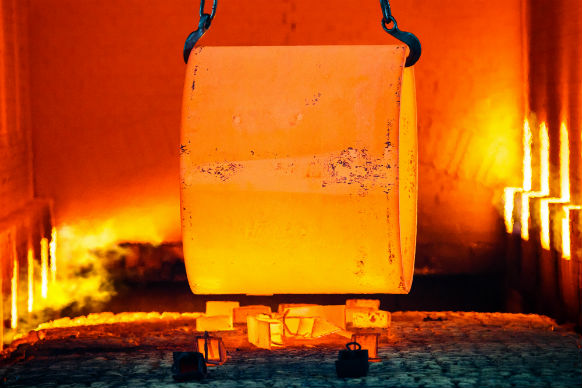
Metals undergo heat treatment to obtain the strength and durably needed to perform optimally in specific service environments
Verify your heat-treated materials are up to the task with testing and engineering services from SGS MSi.
We are an A2LA and ISO/IEC 17025 accredited laboratory that performs destructive and non-destructive examinations to pinpoint material chemical and mechanical characteristics ultimately used to determine safety, compliance and application appropriateness. Our capabilities include:
- Raw material validation
- Production issue solutions
- Finished and semi-finished good assessment
- Product failure analysis
- High-end metallurgical engineering services

Heat treatment processes alter material physical and mechanical properties, which is why testing following the process is vital. With more than three decades of experience working with heat-treated specimens, SGS MSi engineers, scientists and technicians are qualified to test, analyze and certify materials for your project. Examinations we perform include:
- Response to heat treat
- Hardness
- Hollomon-Jaffe parameter
- Banding (ASTM A534)
- Retained austenite
- Jominy hardenability
- Residual stress
- Thermal conductivity
- Radiative heat transfer
- Grain size
- Grain distribution
- Quench rate
Materials in the heat-treated condition that we commonly analyze include aluminum, steel, cast iron, and tool steels. Others are bake hardenable steels, stressproof™, fatigue-proof™, and ETD150™.
Material analysis is a critical resource for both manufacturers and end users to identify the contents, composition, and quality of the products they use. That’s why SGS MSi strives to provide test results that are accurate, clear and concise.
The equipment at our laboratories in the United States of America and Canada are calibrated regularly to ensure accuracy. Calibration records are available upon request.
We provide detailed reports covering each test performed that lists the test type, parameters and results obtained. We avoid complicated jargon and instead use simple and easy to understand language. All failure analysis and investigation reports are presented with a summary conclusion of our findings, any criterion supporting those findings and, if appropriate, insights into possible failure avoidance.
Confirm the heat-treated materials you use are fit for purpose with reliable analyzing and engineering services from SGS MSi. We’re here for you.
Contact us to learn more about our heat-treated materials testing services.
| ASTM A255 | Standard Test Methods for Determining Hardenability of Steel | ||
| ASTM E112 | Standard Test Methods for Determining Average Grain Size | ||
| ASTM E18 | Standard Test Methods for Rockwell Hardness of Metallic Materials | ||
| ASTM E140 | Standard Hardness Conversion Tables for Metals Relationship Among Brinell Hardness, Vickers Hardness, Rockwell Hardness, Superficial Hardness, Knoop Hardness, Scleroscope Hardness, and Leeb Hardness | ||
| ISO 642 | Standard Test Method for Determining Compressive Resistance of Shipping Containers, Components, and Unit Loads | ||
| ISO 643 | Steels — Micrographic determination of the apparent grain size | ||
| ISO 148 | Metallic materials — Charpy pendulum impact test — Part 1: Test method | ||
| ISO 4498 | Sintered metal materials, excluding hardmetals — Determination of apparent hardness and microhardness | ||
| AMS 2750F | Pyrometry | ||
| AMS 2757 | Gaseous Nitrocarburizing | ||
| AMS 2759 | Heat Treatment of Steel Parts General Requirements | ||
| AMS 2762 | Carburizing Carbon and Low-Alloy Steel Parts | ||
| SAE J406 | Methods of Determining Hardenability of Steels | ||
| SAE J423 | Methods of Measuring Case Depth |
