Metallurgical Services
Case depth examination is typically required to verify each carburizing or carbonitriding heat treat batch or lot
A gaseous atmosphere is generated within the furnace which diffuses into the component by the laws of equilibrium. The amount of time and the carbon potential of the atmosphere dictate the resulting total case depth and effective case hardness. SGS can perform:
- Metallographic verification of a carburizing or carbonitriding heat treatment
- Depth verification of the carbon diffusion into the component surface
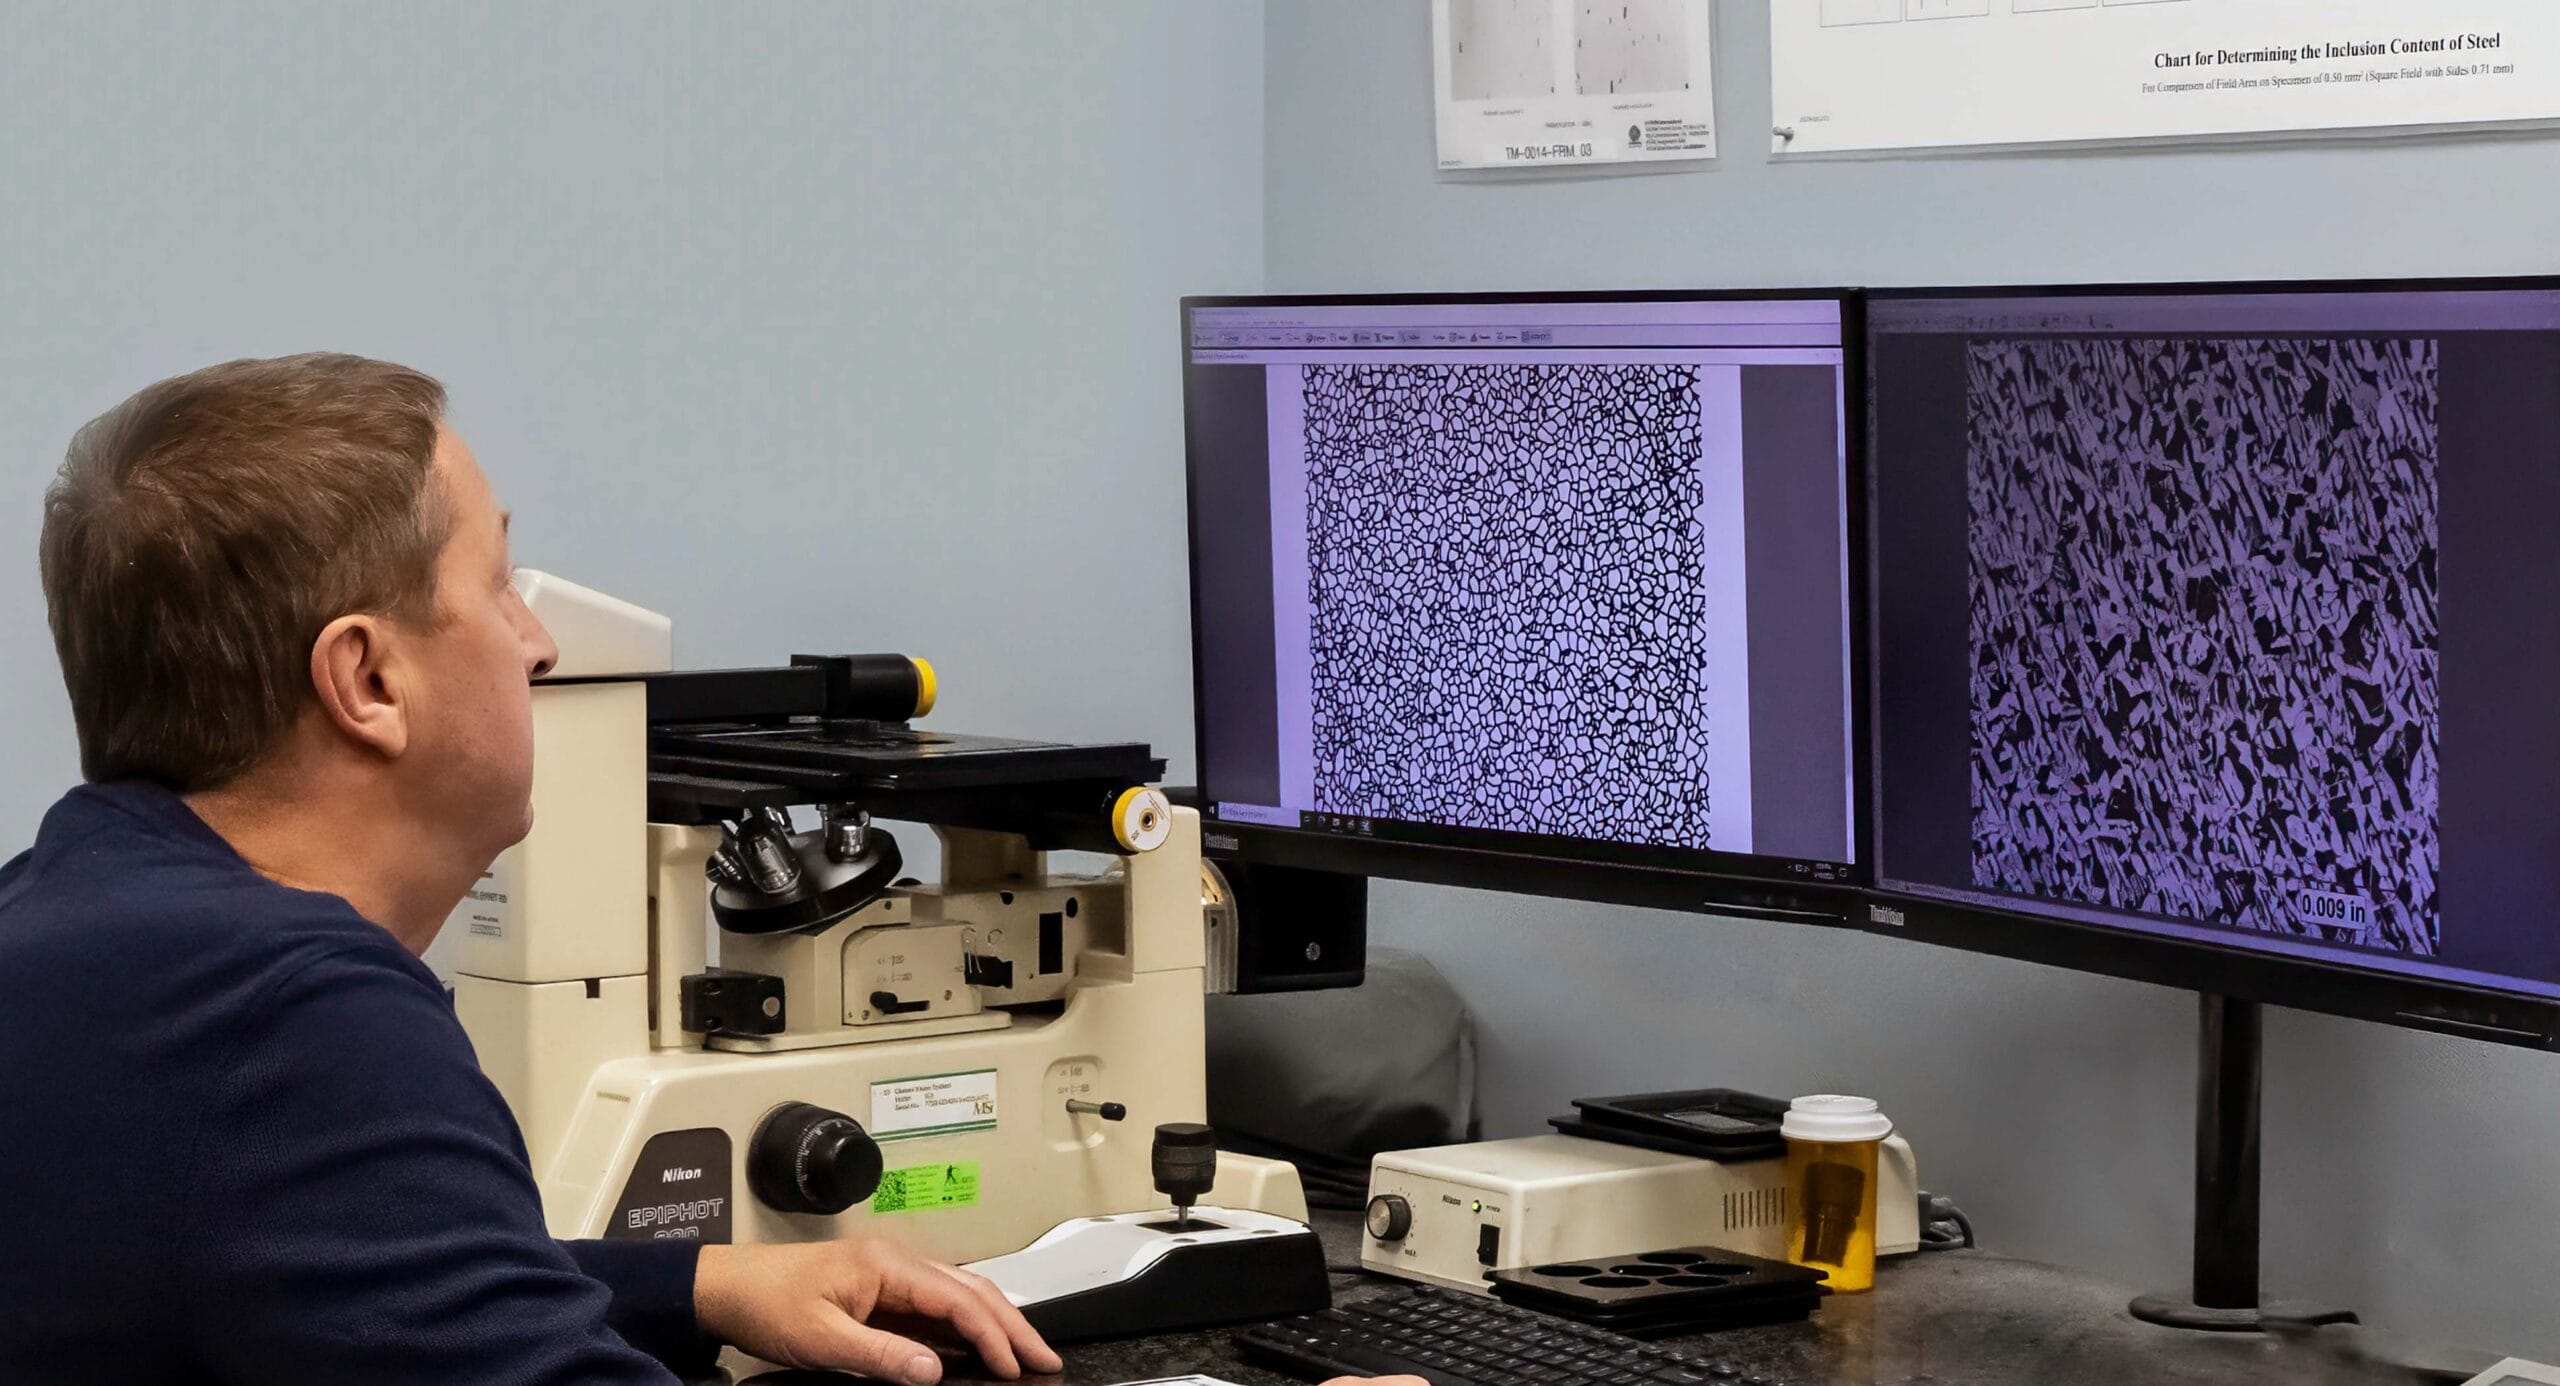
- Visually measure case depth using an optical microscope.
- Testing method in accordance with A2LA and ISO accreditation SAE J423
- Case Carbon Analysis by Optical Emission Spectroscopy (OES)
To test for the total case depth, the following is to be performed
- Section & prepare the sample for metallographic examination
- Etch the prepared metallographic specimen with a 3% Nital etchant to reveal the microstructure
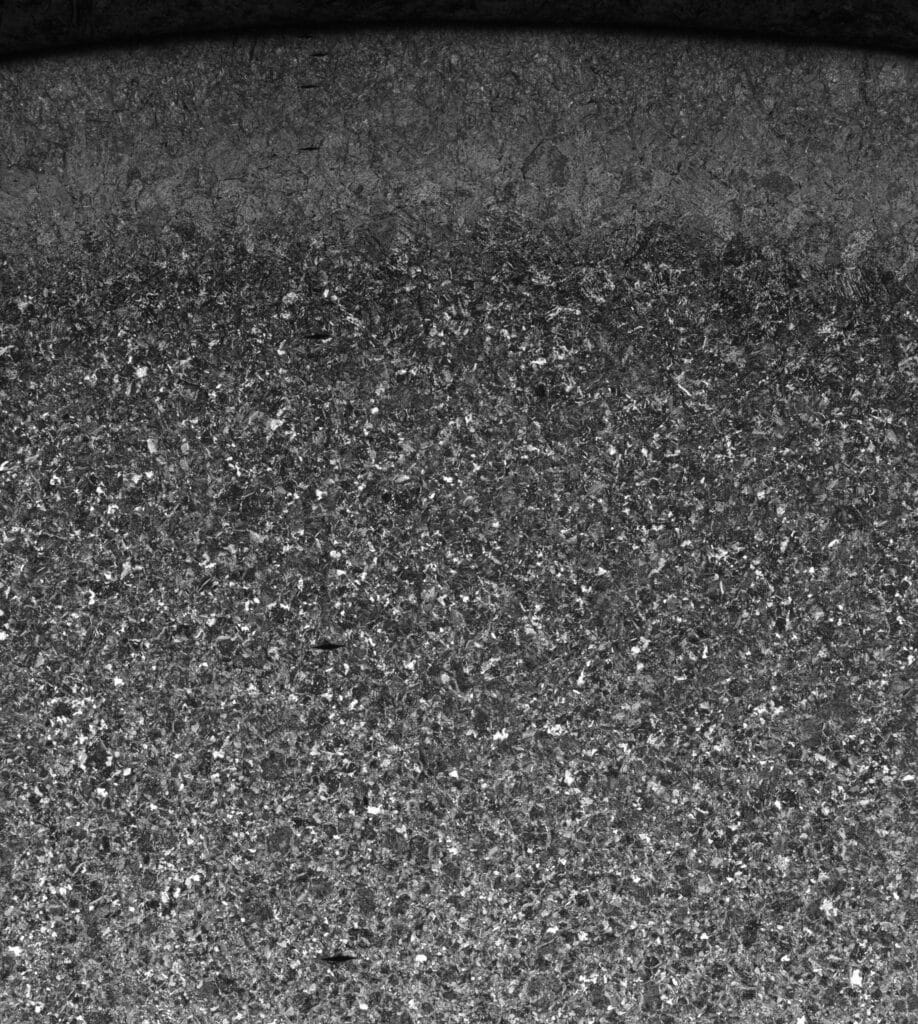
- Measure the total case depth as the depth below the surface where no change in microstructure can be observed resulting from heat treatment diffusion. A NIST traceable filar scale should be used for the measurement.
- Verify the depth measurement in at least three separate locations. Report the range observed. Do not average the values.
- Examine the case microstructure for any detrimental microstructural conditions and, if detected, notify the client.
Contact us today to learn more about our metallurgical services.

