Mechanical Testing
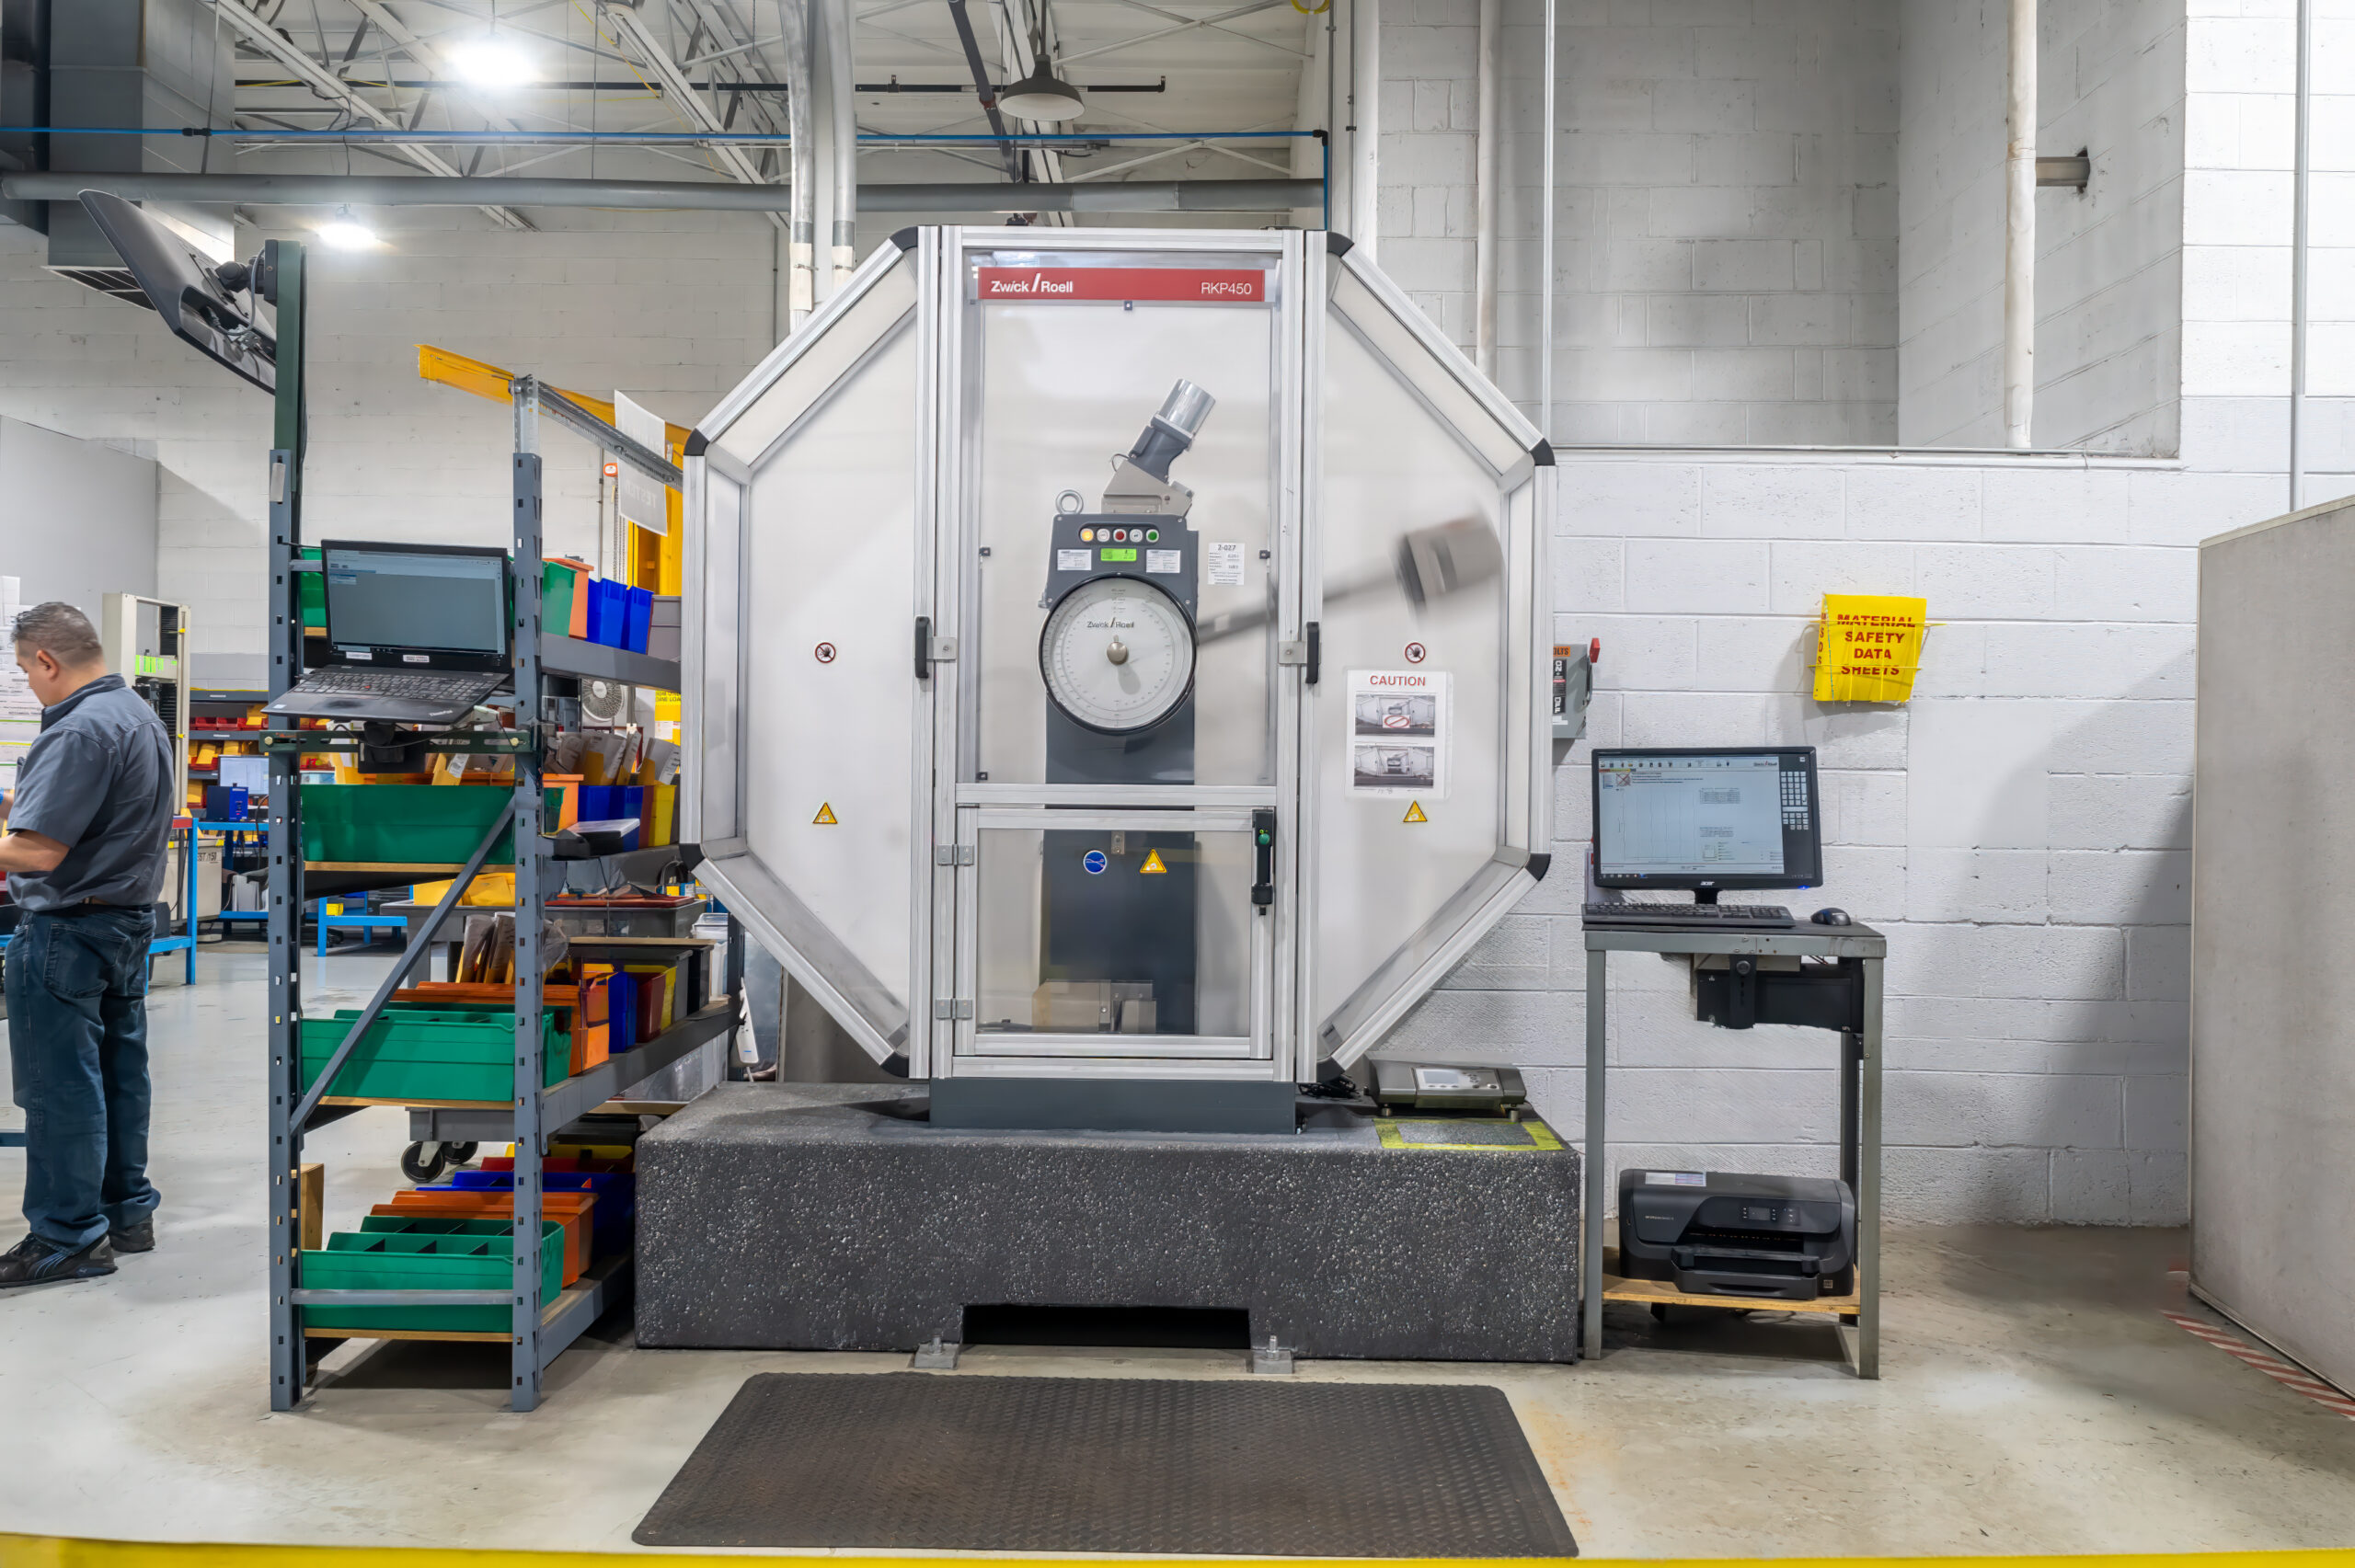
Charpy impact testing can determine toughness, brittleness and ductility of your material.
Our laboratory can test to varying temperature requirements and specifications, we test specimens from ambient room temperature, down to -452*F (using liquid Helium). SGS MSi employs two methods of notching the material: V-Notch and U-Notch. Both methods can be machined and tested at our facility. In accordance with ASTM and ISO specifications, we can also prepare and test sub-size specimens. Contact us today to learn more about our mechanical testing services.

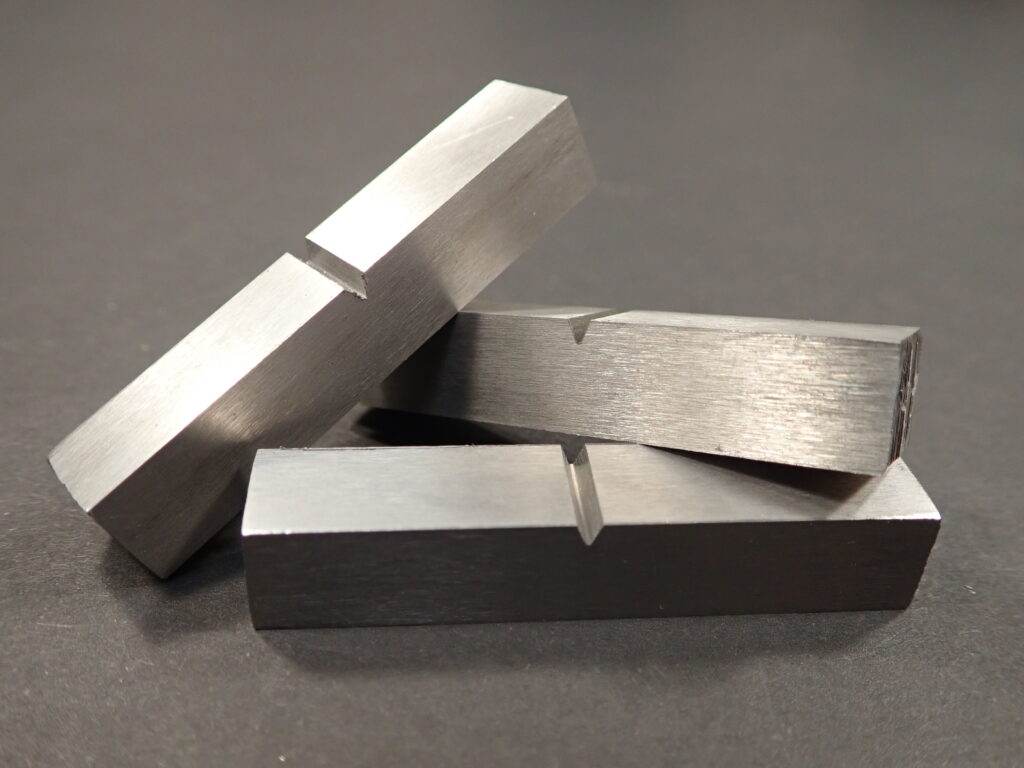
V-Notch Charpy Specimens
ASTM E23 Charpy Impact Tests and ISO Charpy V Notch Tests utilize the same test specimen, but are tested on different machines and calibrated to different agency reference standards.

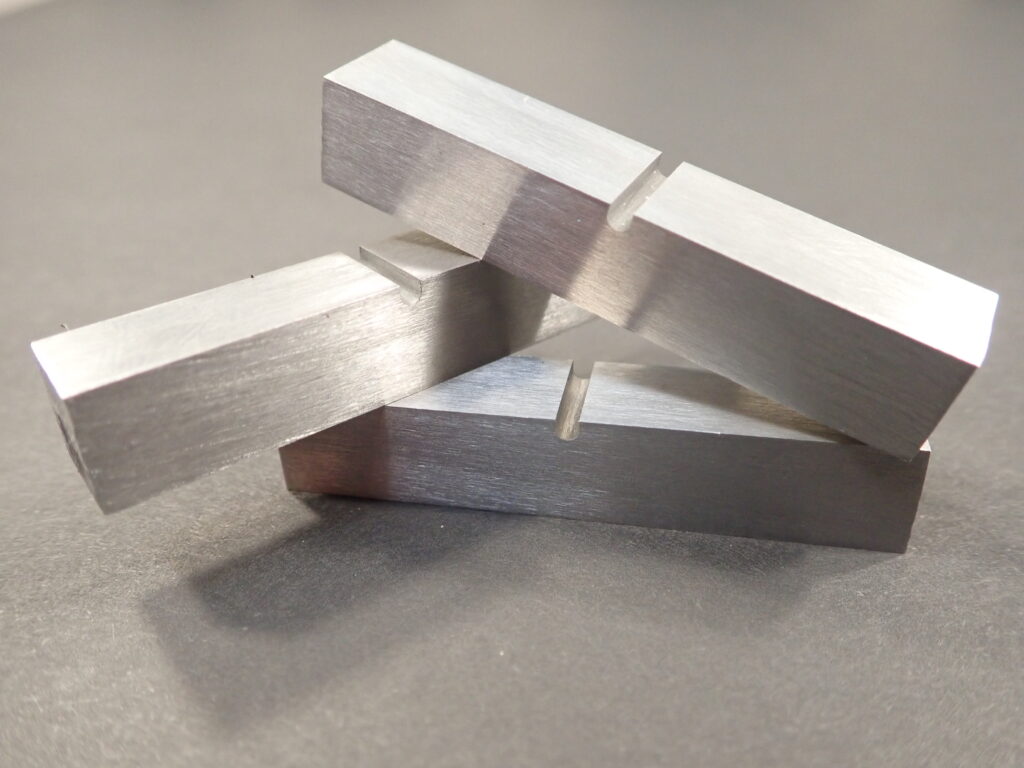
U-Notch Charpy Specimens
ISO 148-1 U-Notch pendulum testing is the European standard equivalent to ASTM E23 Charpy Impact Testing

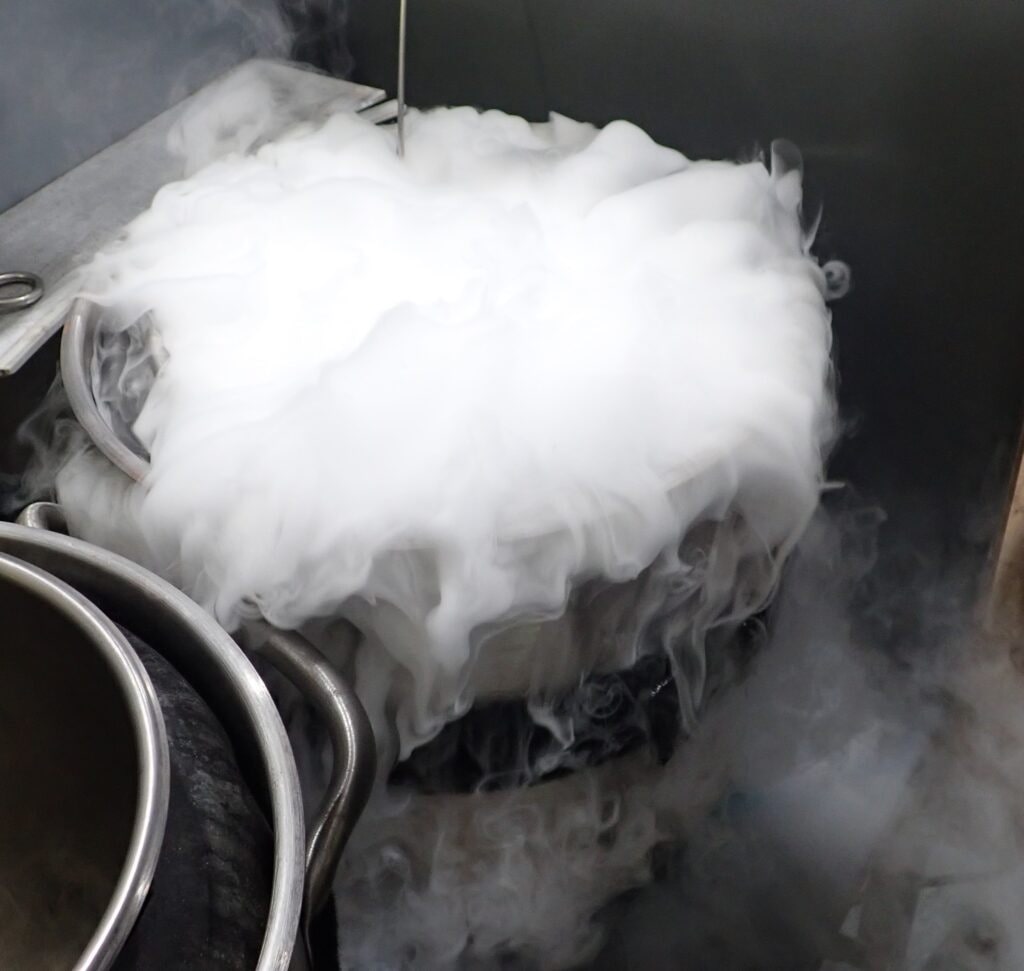
Sub/Low Temperature Charpy Testing
SGS MSi can perform standard Sub-Temperature Charpy Impact Testing in accordance with known standards such as ASME Codes, ranging from +300°F to -452°F.
Test Methods
Charpy Impact Test (Type A) Methods & Specifications- The following is a listing of specifications that are in accordance with our A2LA and ISO accreditation.
| ASTM E23 | Standard Test Methods for Notched Bar Impact Testing of Metallic Materials | |
| ISO 148-1 | Metallic materials — Charpy pendulum impact test — Part 1: Test method | |
| ISO 148-2 | Metallic materials — Charpy pendulum impact test — Part 2: Verification of testing machines | |
| EN 10045-1 | Metallic materials — Charpy Impact Test – Part1: Test Method | |
| EN 10045-2 | Metallic materials – Charpy impact test – Part 2: Verification of the testing machine (pendulum impact) | |
| JIS Z 2202 | Test Pieces for Impact Test for Metallic Materials | |
| JIS Z 2242 | Method for Charpy pendulum impact test of metallic materials |
